
Getting Started
Quickstart
Get started with Meebly AI in under 5 minutes. This guide will walk you through creating your first agent and starting your first conversation.
Step 1: Create an Environment & Get Your API Key
Sign in to the Meebly dashboard and create an App and an Environment (e.g., "Development"). Each environment gets a unique API key that you'll use to authenticate your requests.
Security: Keep your API key secure. Never commit it to version control or expose it in client-side code. Use environment variables for production deployments.
Step 2: Create Your First Agent
In the Meebly dashboard, create a new agent:
- Click "Create Agent" in your environment
- Choose "Conversational" as the agent type
- Name your agent (e.g., "Customer Support Agent")
- Add system instructions:text
<instructions> You are a helpful customer support agent for an e-commerce platform. <audience> Customers with questions about orders, shipping, and products. </audience> <tone> Friendly, professional, and concise. </tone> <responsibilities> - Answer questions about order status and shipping - Help customers find products - Resolve common issues - Escalate complex problems to human support </responsibilities> </instructions> - Deploy
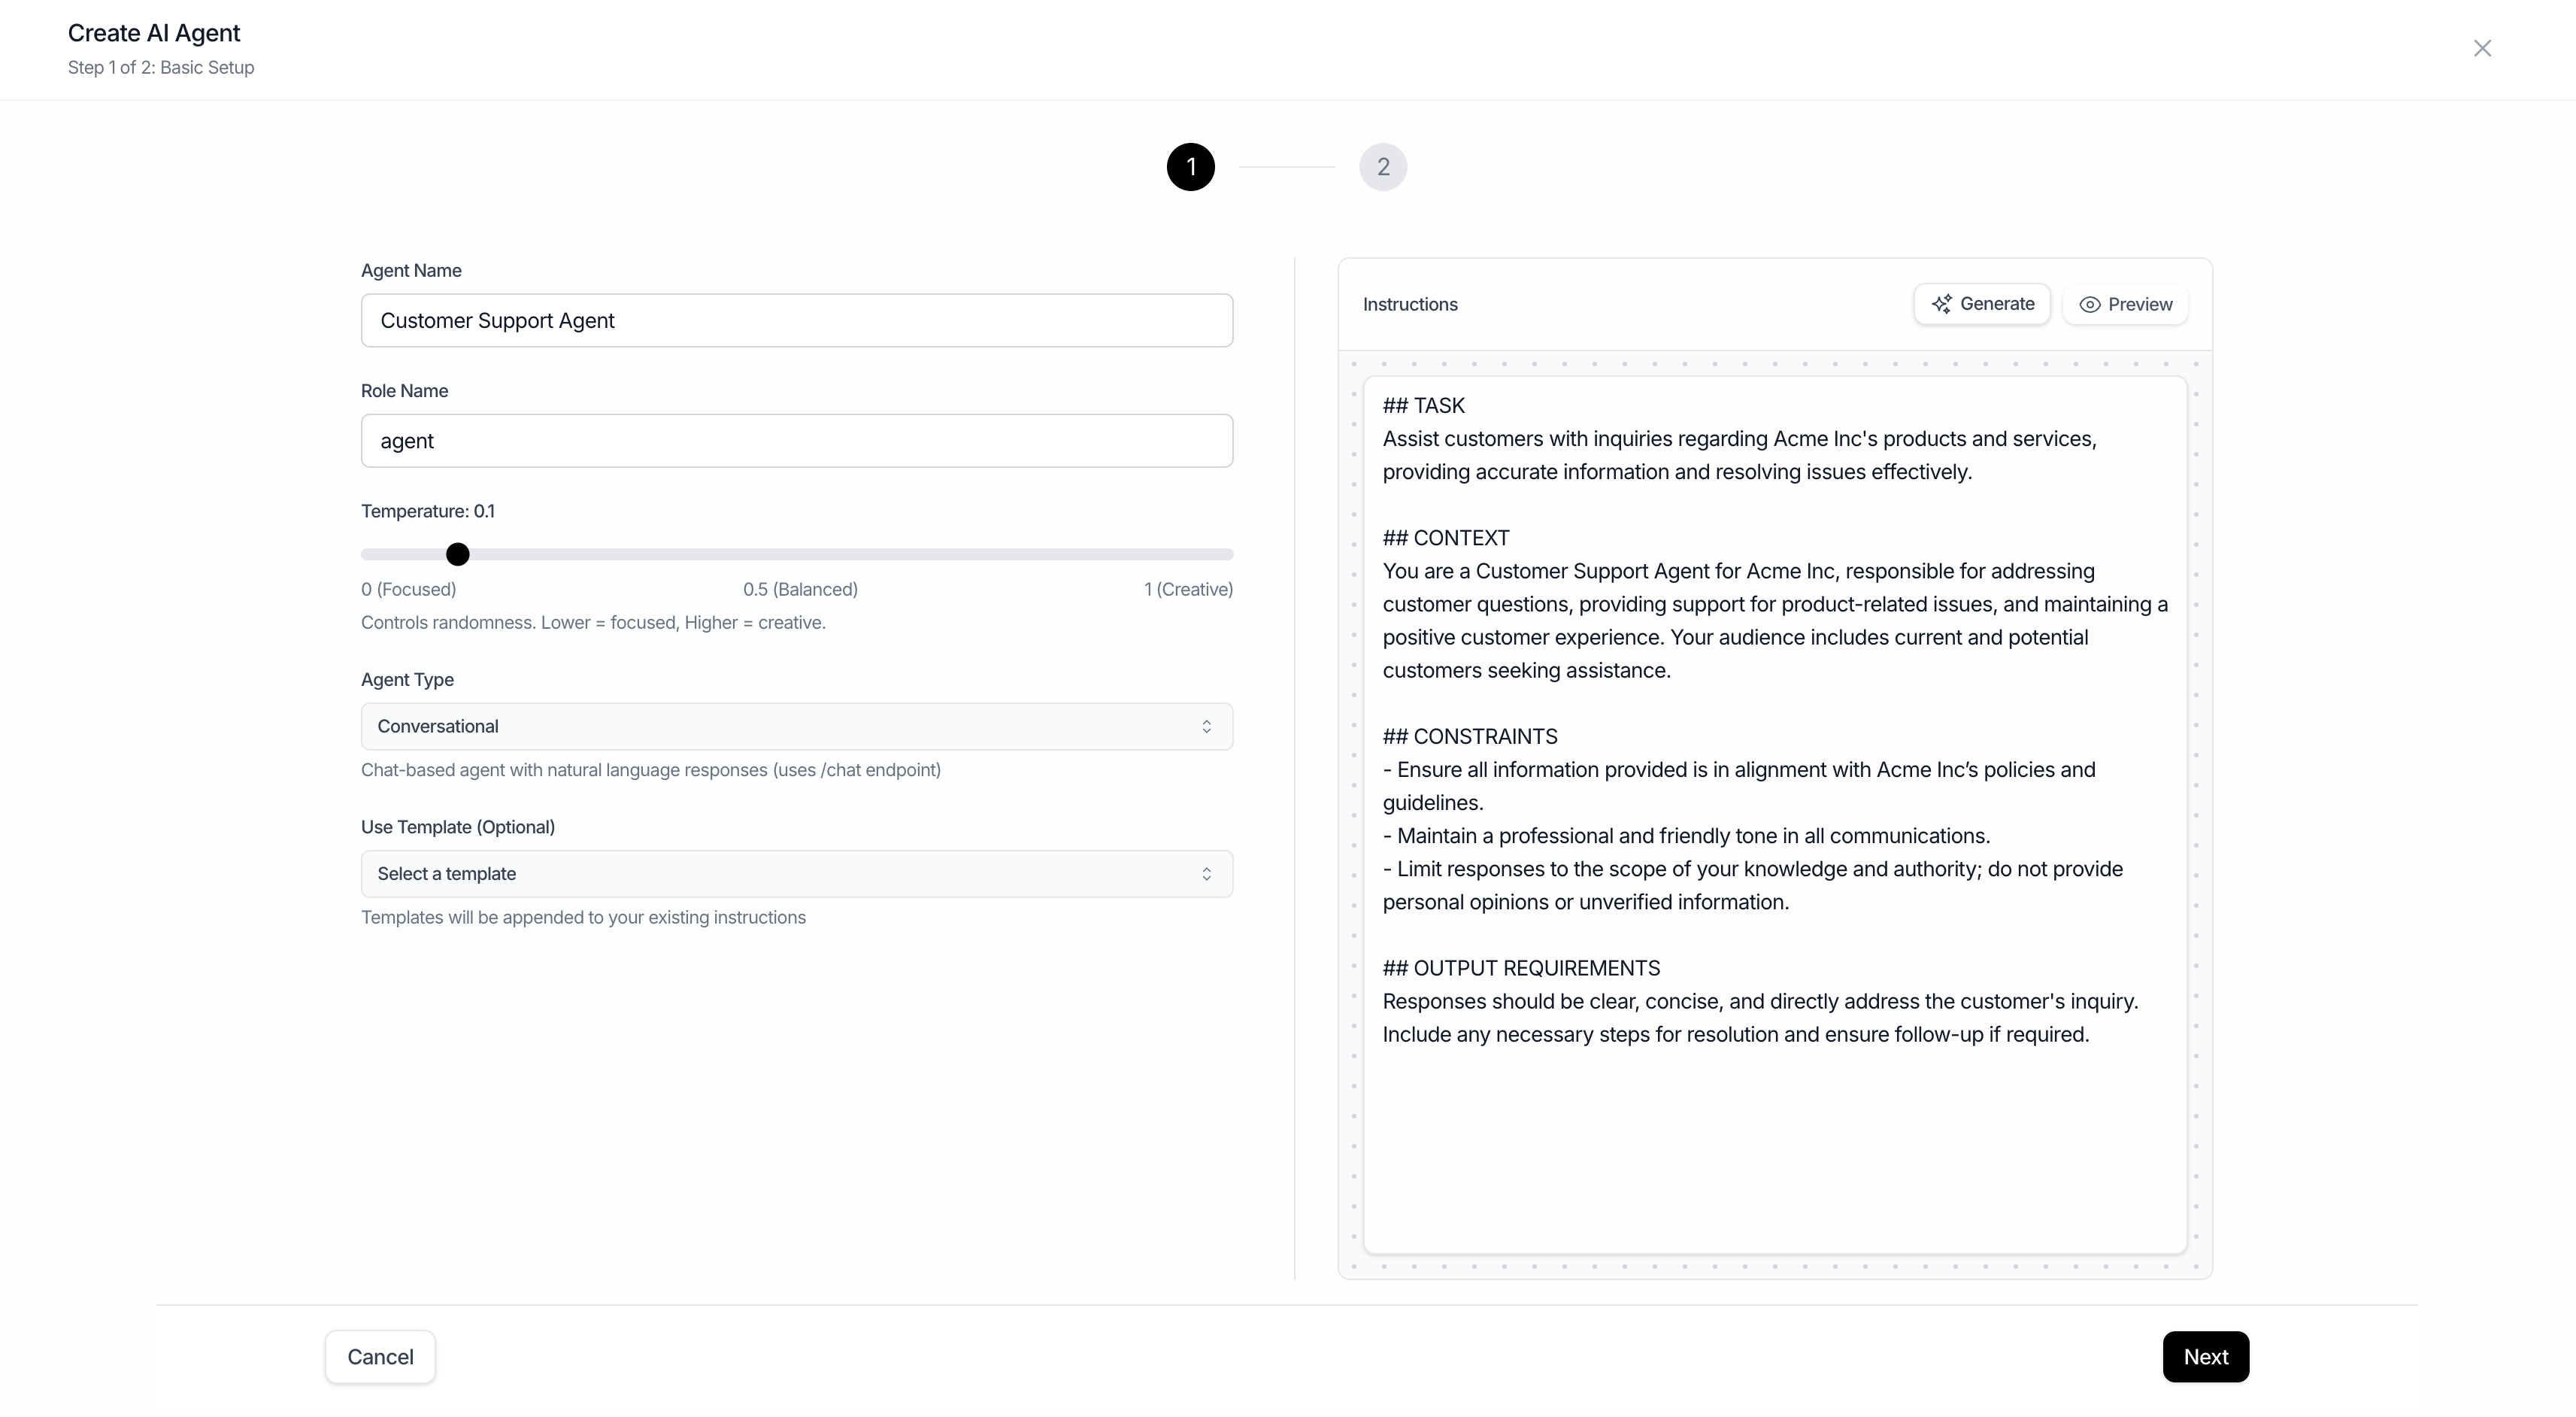
Pro Tip: Start with a simple conversational agent. You can add actions (API connections) later to enable the agent to fetch data or perform operations.
Step 3: Start a Conversation
Go to the sandbox tab in the Meebly portal to sandbox your newly created agent.
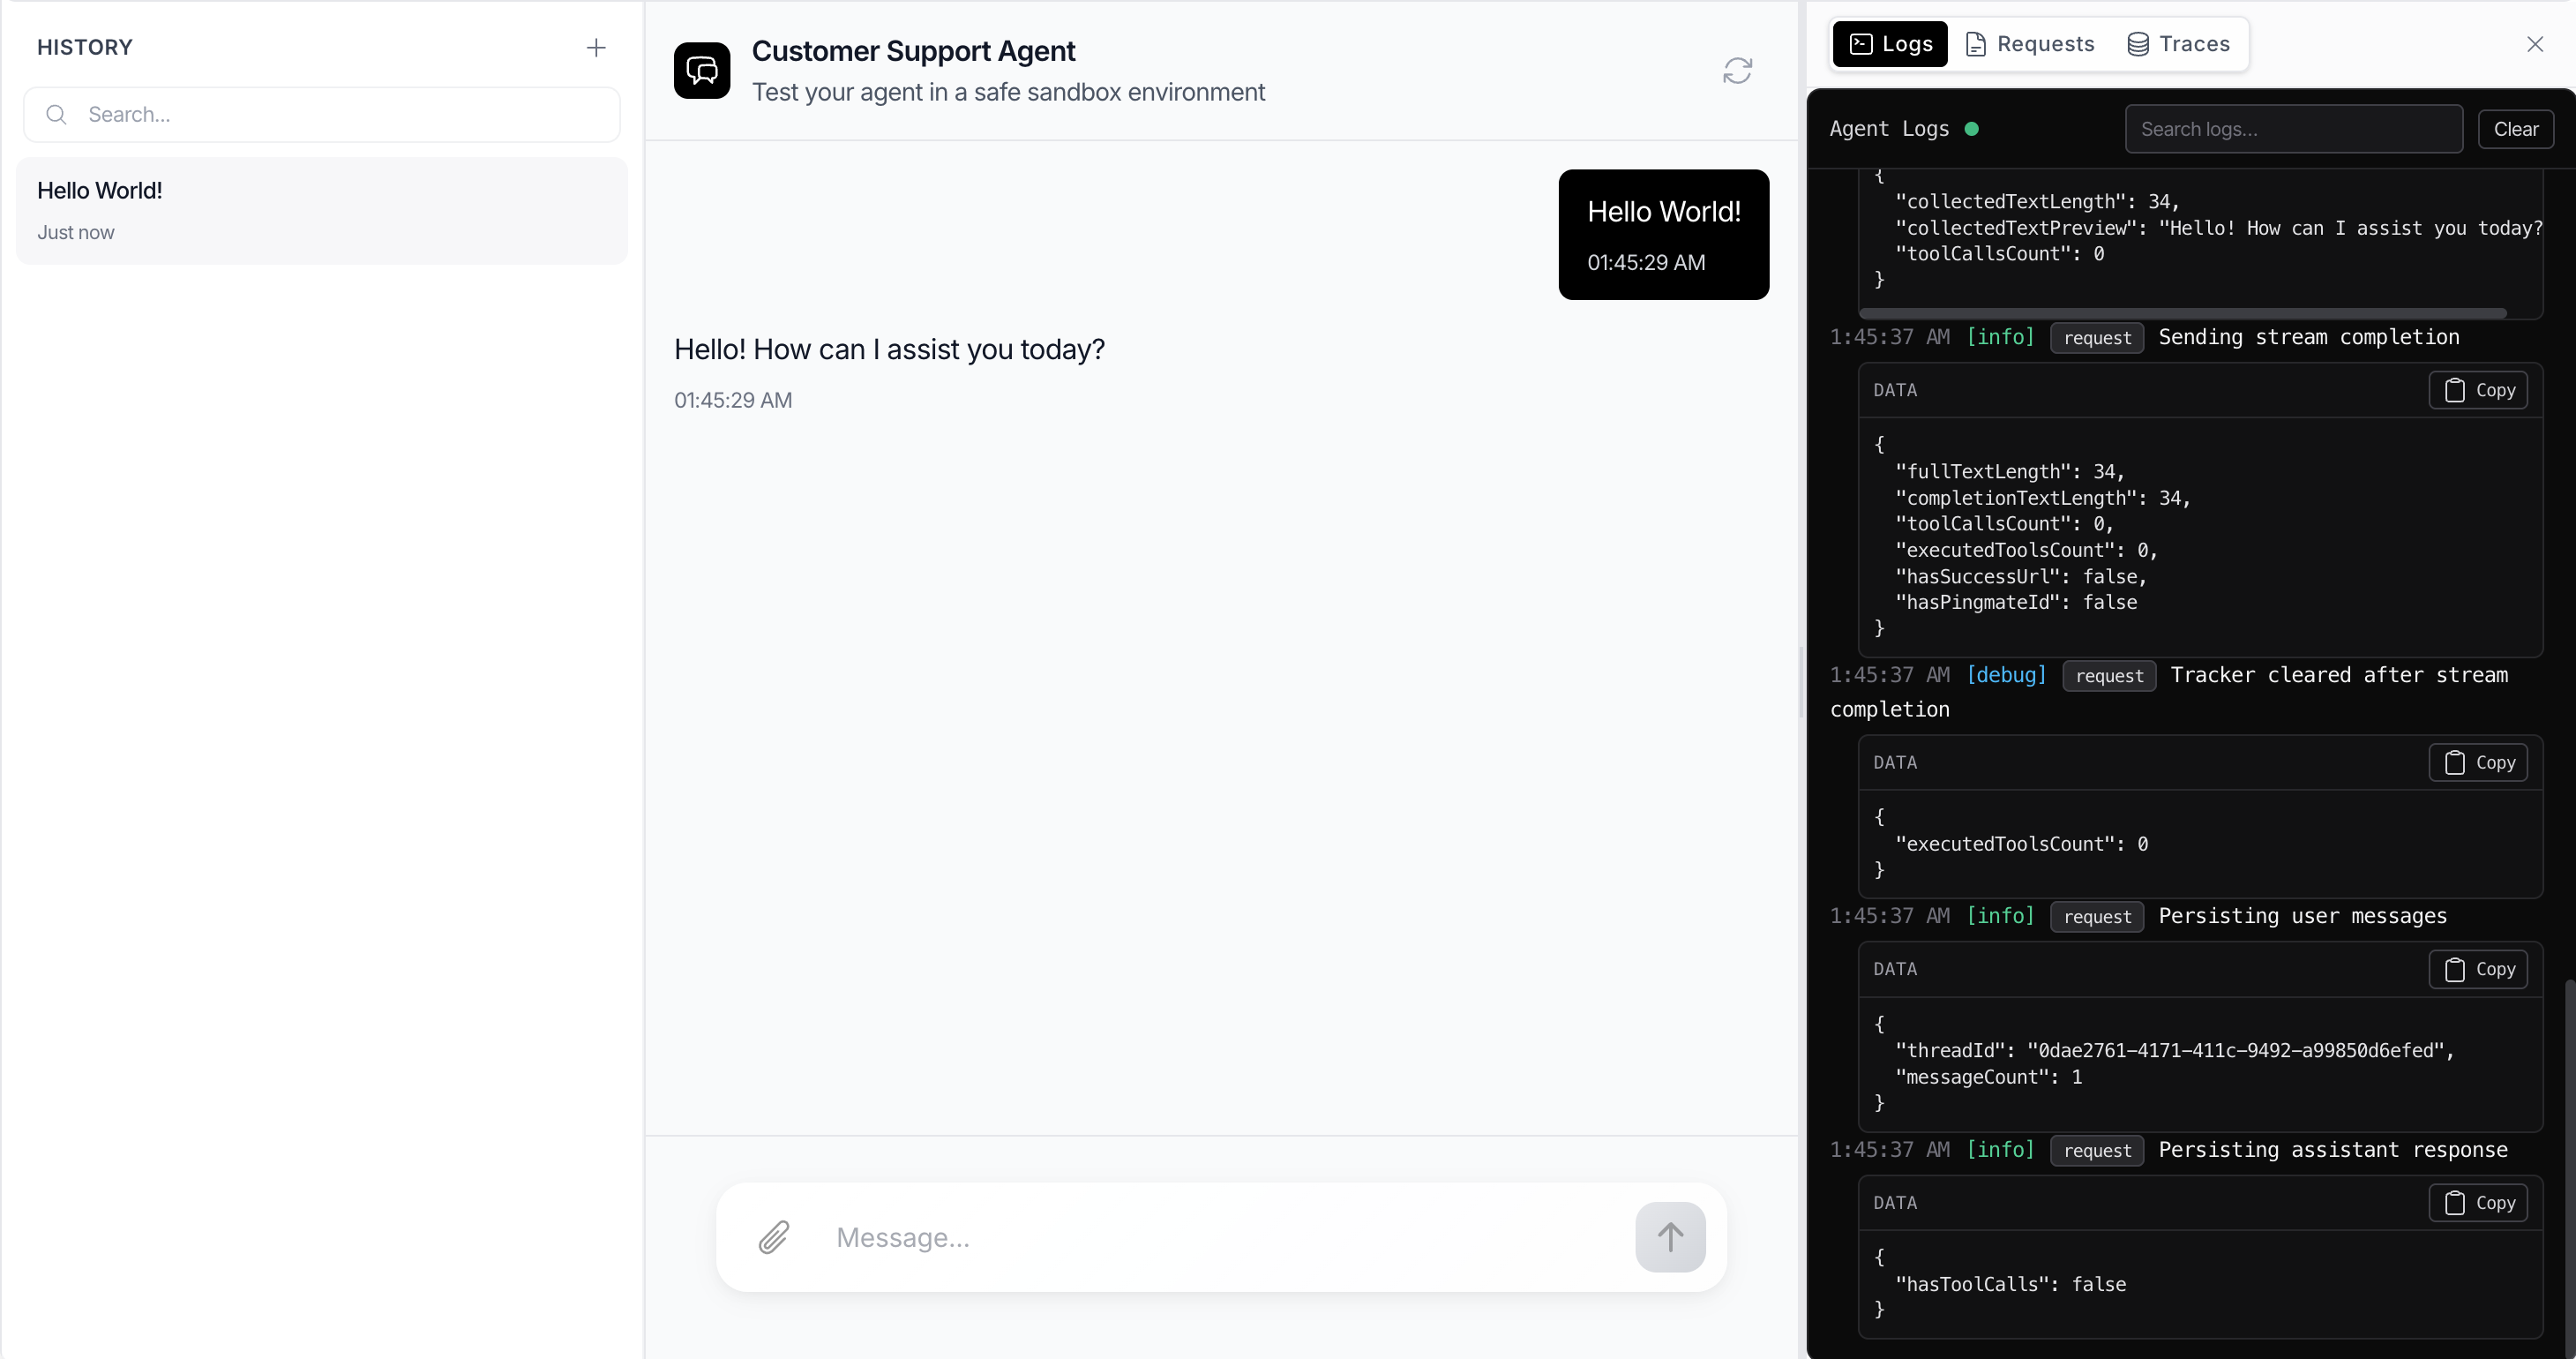
Important: Your agent is as powerful as you set it to be. Always add a knowledge base and give it access to several actions to make it useful.
Next Steps
- •Learn about different agent types
- •Explore Actions to connect your backend APIs
- •Check out code examples for common use cases
Last updated: March 2026Report an issue